Archivi tag: featured

LetMeIn Project – Intro

Ho deciso di riattivare  il mio blog, con la voglia di condividere alcune piccole esperienze che sto facendo, un po’ per gioco, un po’ per esperimento e un po’ per mentene viva la passione della tecnologia che mi ha sempre accompagnato nella mia vita.

Da un breve serata al Fablab di Torino, dove Roberto Chinelli mi ha invitato a passare una serata dove Roberto Nocera presentava quello che all’epoca si chiamava Spark, ed ora Particle in breve un piccolo microchip programmabile IoT con WiFi inegrata.

Da li, l’idea di giocare un po’ ho iniziato a creare un piccolo progettino per il controllo remoto dell’accesso al cancello e garage di casa, semplicemente per evitarmi la pigrizia di portarmi le chiavi di casa quando esco per correre ma, semplicemente avendo con me il telefono, avere la possibilità di tornare a casa.

Nei prossimi post pubblicherò alcuni riferimenti agli esperimenti fatti nello scorso annetto e mezzo, che in sintesi sono stati:

  • La programmazione di base di particle
  • L’interfacciamento con un display LCD per la visualizzazione messaggi
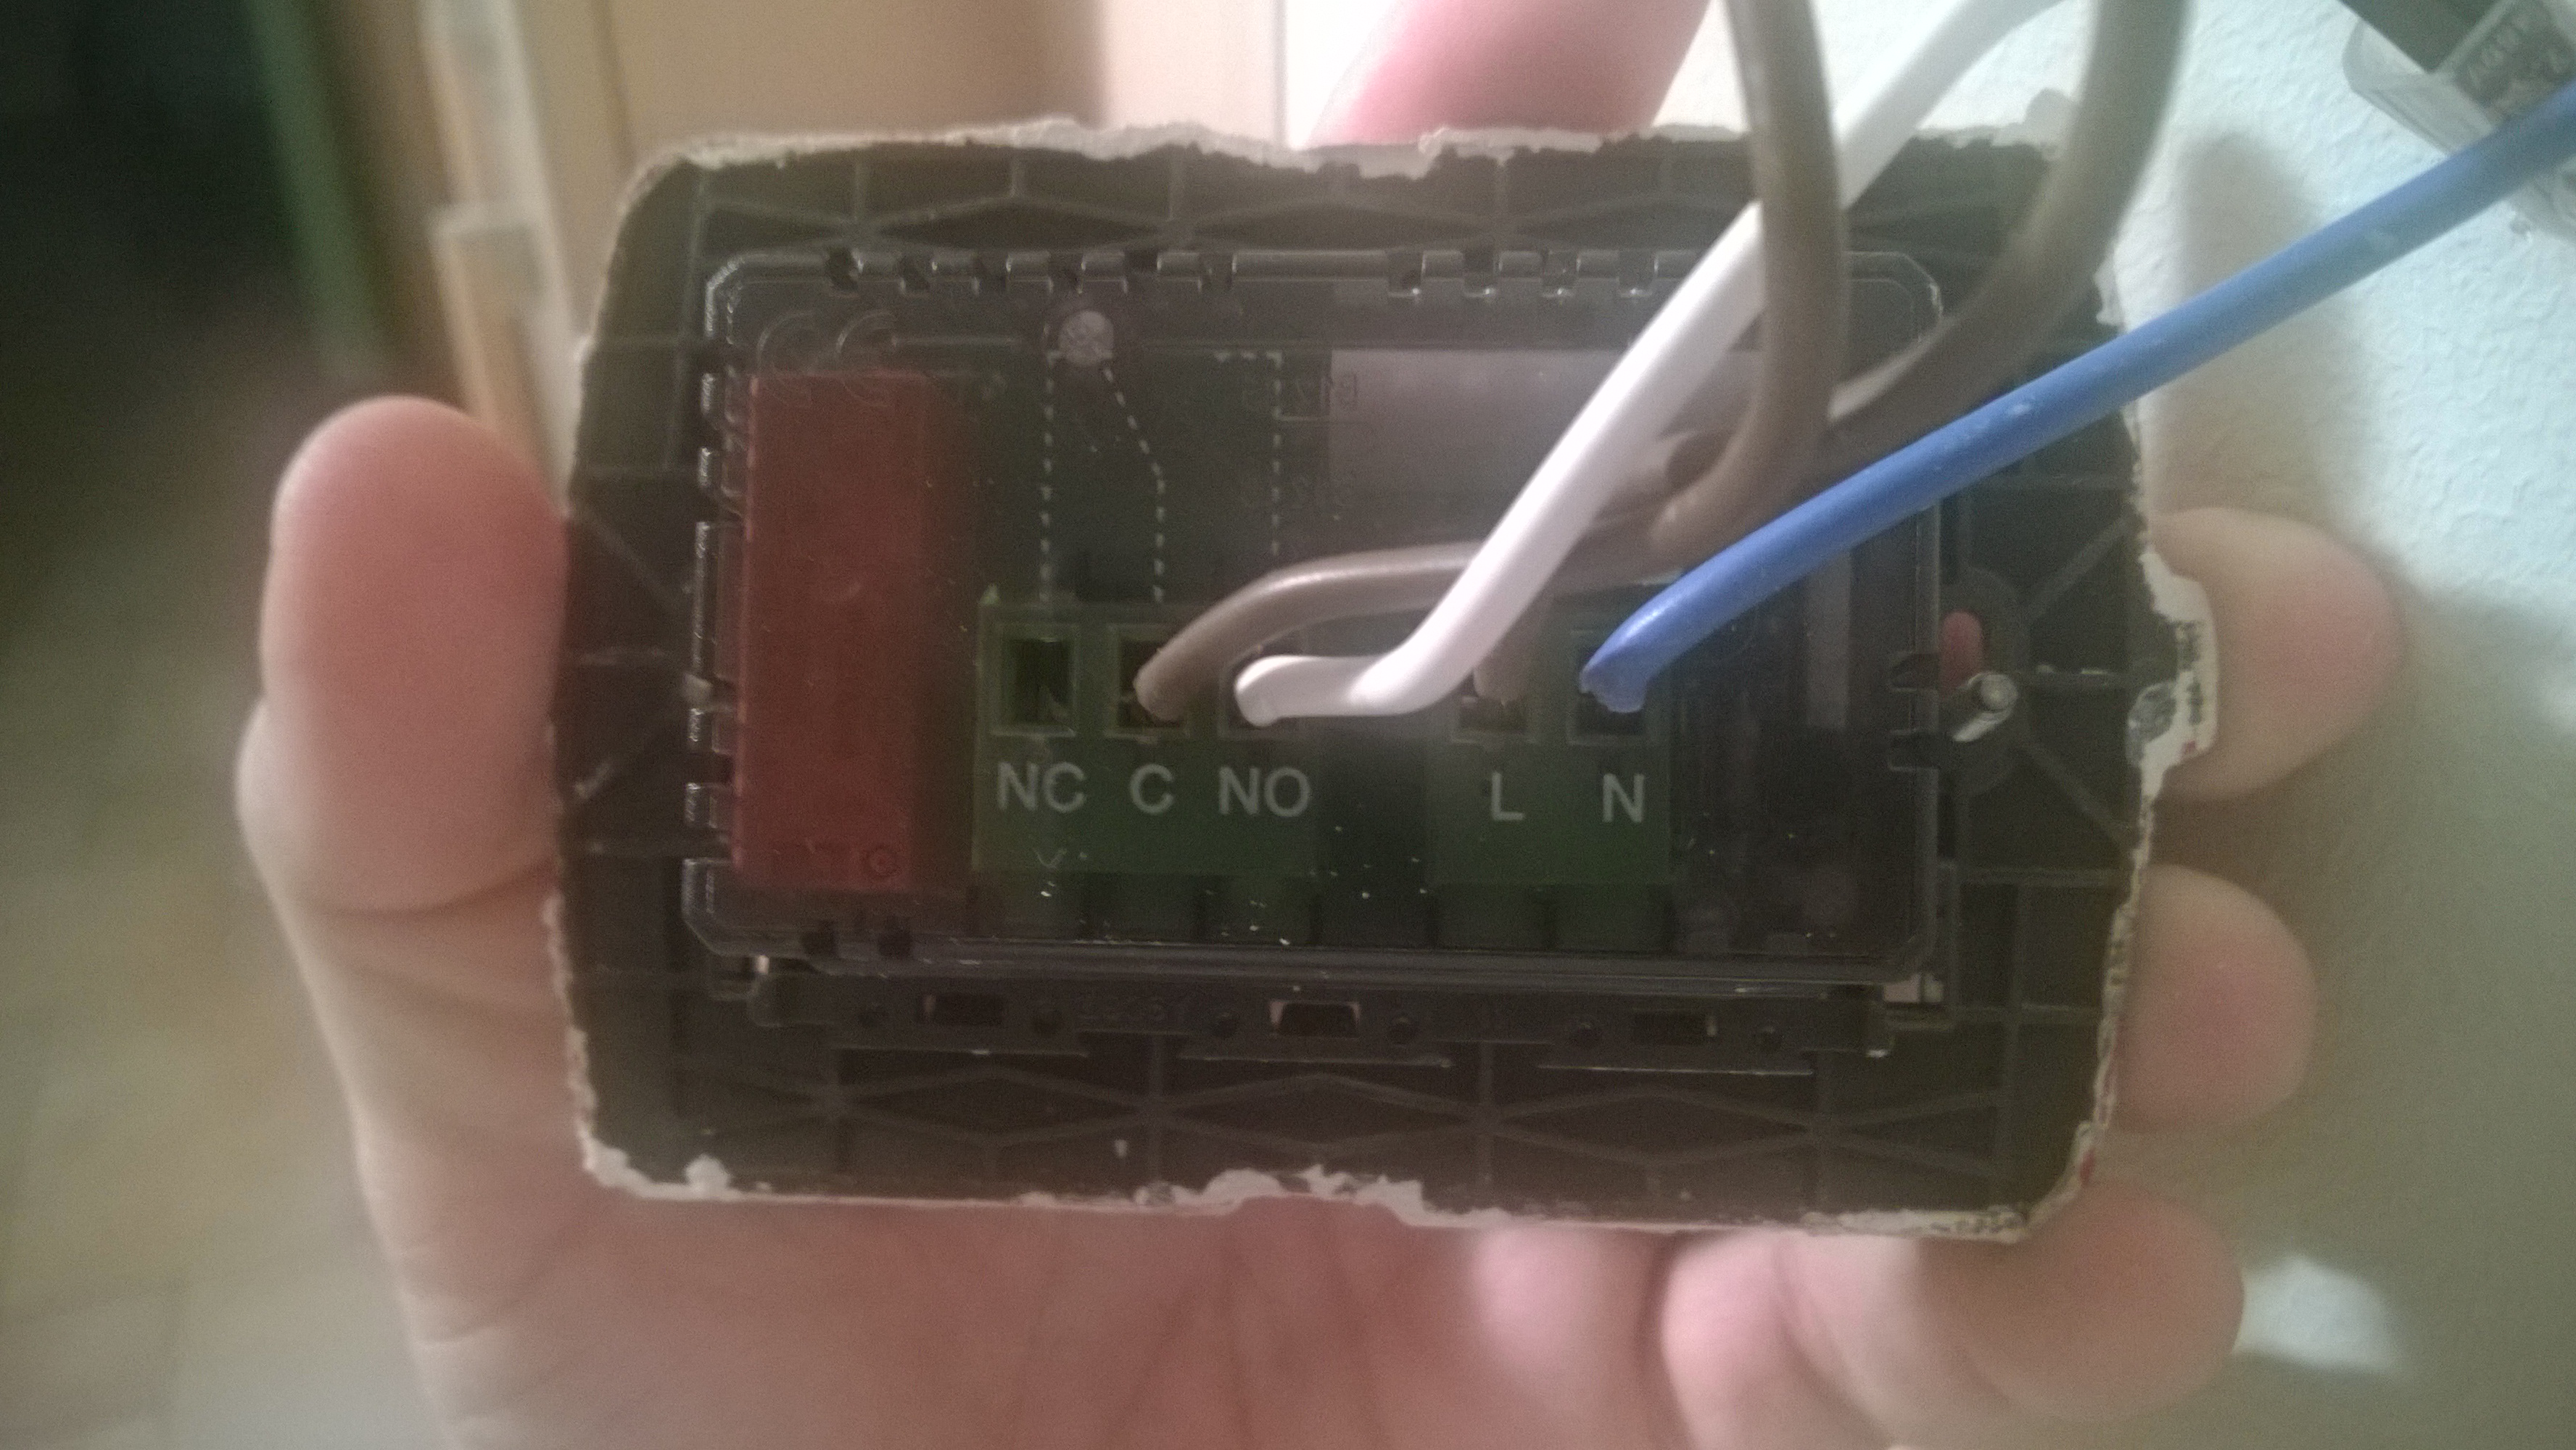
  • Il controllo di relè di comando
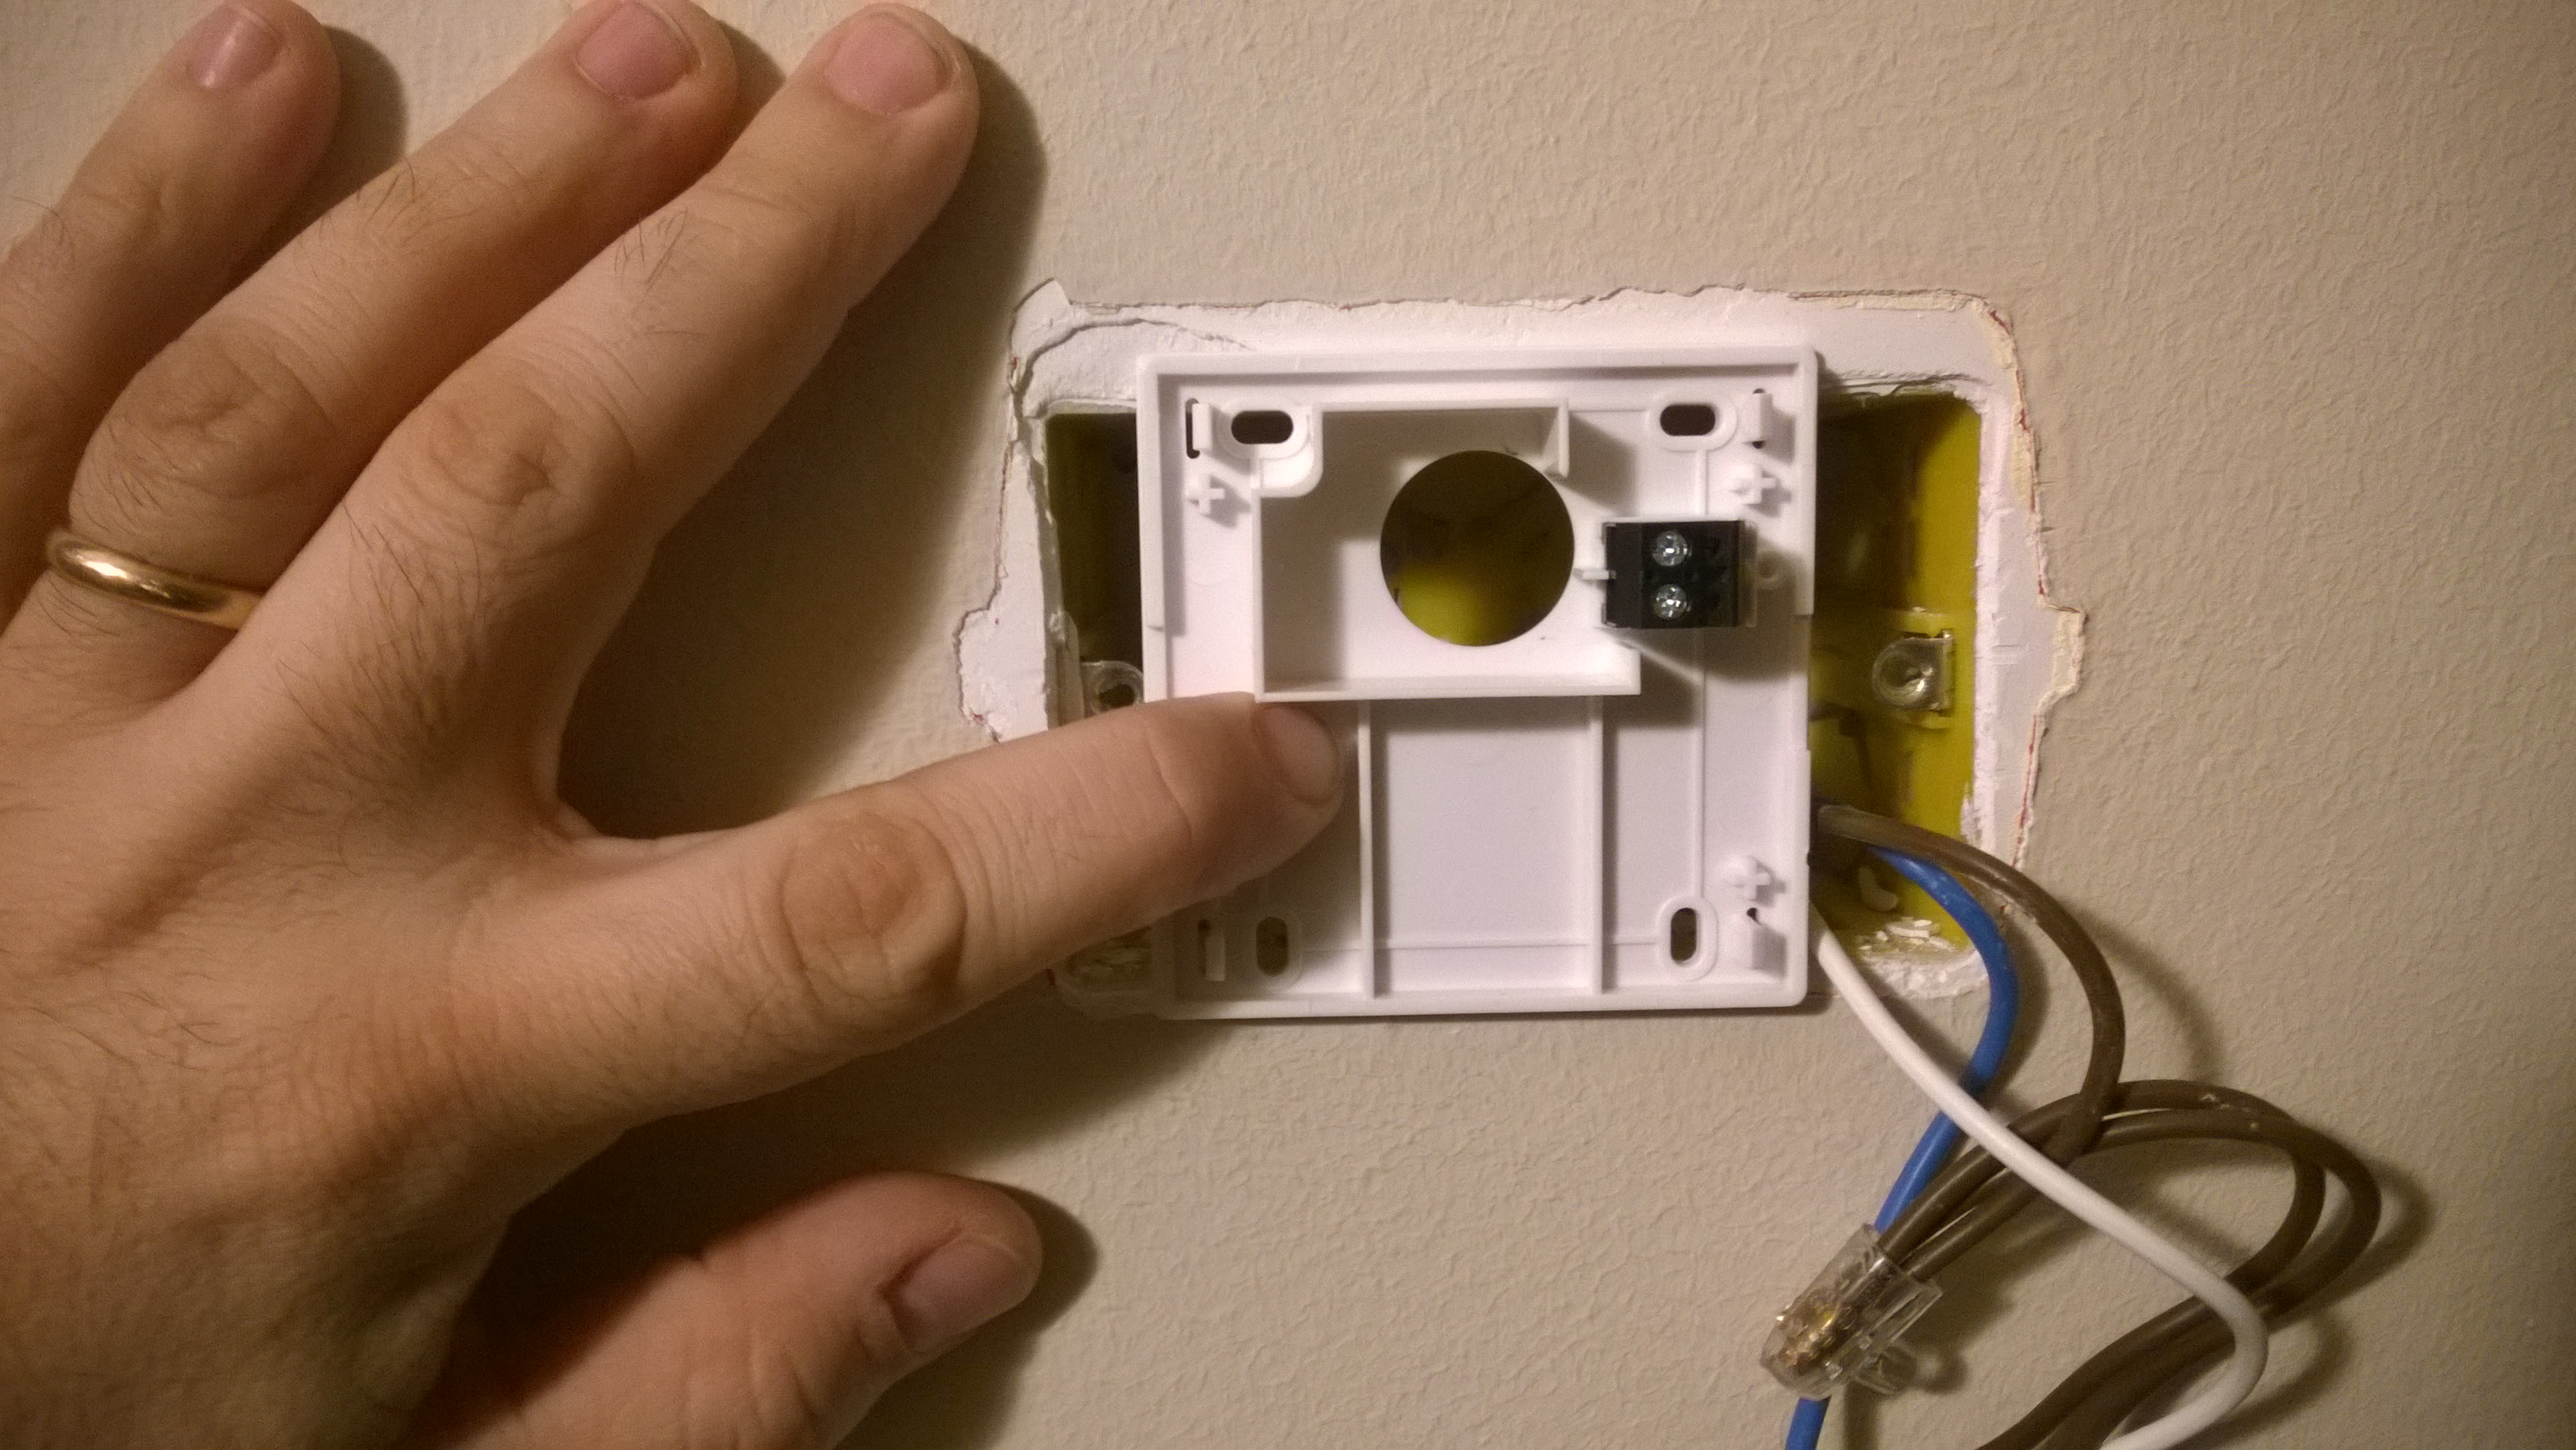
  • L’integrazione con il telecomando cancello garage
  • Lo sviluppo dell’applicazione cliente su Windows UWP x Phone
  • Lo sviluppo di un APP sullo smartwatch Garmin Fenix2
  • L’integrazione con i servizi voce di Microsoft Cortana
  • L’integrazione con il citofono promelit per il comando del cancelletto di casa.

Chissà che prima di completare tutto, non abbia ulteriormente evoluto l’applicazione, tra le prossime idee ci sarebbe quello di integrare tutto su Azure IoT… ma vedremo un po’

Stay tuned
Alberto

[update]

Articoli della serie:

Termostato Netatmo – CasaCasu Build Log

Recentemente ho dovuto anche io cedere e aggiornare qualche pezzo di tecnologia in casa.

Ho comprato un NetAtmo (Termostato gestibile via Wifi). Dopo solo qualche settimana di utilizzo, sono già estrememante soddisfatto del cambio: siamo passati dal dire quando il termostato doveva accendersi per ragionavolmente avere la temperatura desiderata, al dire a che ora vogliamo una certa temperatura, e lasciare a lui il calcolo di quanto prima partire; per non parlare della possibilità di gestirlo via mobile 🙂

Avendo ricevuto una discreto interesse da amici e colleghi, posto di seguito alcune foto relative alla mia esperienza di installazione dello stesso, incluso l’adattamento ad una presa italiana.

WP_20150210_005 WP_20150210_007

Il Termostato BTicino precedente, dove mi sono diligentemente fotografato la connessione prima di iniziare qualunque tipo di danno. I cavi da collegare al netatmo sono C e NO; gli altri due li ho isolati.

WP_20150210_009WP_20150210_008

Come si può vedere, il nuovo termostato è più grande della scatola standard

WP_20150214_002 WP_20150214_003

A questo punto serve un minimo di DIY, prima di tutto ho comprato un (come si chiama? da noi si chiama “castelletto” non so il nomer corretto); l’ho ritagliato, perché essendo fatto per essere posizionato sopra la scatola avevo bisogno di ridurre la dimensione e far si che si incastrasse a “filo” del muro all’interno della scatola.

WP_20150214_004 WP_20150214_006 WP_20150214_007

Successivamente ho fatto un paio di buchi con un trapano, per poter montare il retro di netatmo.

WP_20150214_008

WP_20150214_009

Ovviamente al primo giro, mi ero dimenticato di  montare il lamierino che è presente all’interno del kit, per poter coprire il contorno del termostato, e voilà!

WP_20150214_010 WP_20150214_011

Infine, come alternativa, segnalo che si sarebbero potuti usare dei Fisher appositi, che permettono questo tipo di connessione. Nel caso del mio muro, ero nel dubbio ci fossero vicino dei tubi, e volevo evitare qualunque tipo di problema

WP_20150215_001

ZuCopter – FullAuto Test #1 including copter flyaway – recovered :)

I’d like to share my experience with my copter (aka ZuCopter) during my first full test using AUTO mode. My quad is ArduCopter, 3DRobotics Quad-C frame using APM 2.5 Firmware 2.9.1b

The plan was to go around the house, full automated, including takeoff and landing. This was executed quite smoothly at the first run J, Then I said… let’s try that again; I relaunched the same mission without turning the copter off or resetting, and…. something didn’t go so well: the quad decided to go full throttle without following strictly the programmed waypoints. I was good to have RTL mode programmed on my radio, so I was able to recover the flight back to manual mode.

You can see the recorded video from the GoPro installed on the quad.


This was the original plan:

The first run was quite well done I would say. Only thing I noticed is that arducopter do not strictly reach the altitude set at the waypoint. When it reaches the waypoint, it doesn’t matter if the altitude is lower, in contibue both increasing altitude and continue to the next waypoint.
From the data extraced from the LOG, you can see the waypoint altitude was reached only after waypoint 3.
Blu data are altitude requested by WayPoint Command, and the green is the barometric measurement.

This is the first run importing the .gpx information from the arducopter datalogger to Google earth.

As for the second run, I executed it using the same mission, without changing the mission nor switching off the quad. From the video you can see the strange behaviour:

  • Copter not heading straight (camera, which is the head of the copter, was instead on side)
  • Throttle-out was 100% most of the time during auto.
  • Waypoints were passed very large

Then I decided to engage RTL to bring the copter back home.

This was the first run from another angle:

And this is the second run where you can see the different copter modes I set. The yellow below was the original AUTO mode, blue STABILIZE, red RTL


As you can see from the datalogger, most of the yellow line (throttle-out) during the first part of the flight is set flat to 1000. So full motors.

The image below was merged to the mission mode sequence: yellow area is the lower graph is the AUTO MODE (graph below is gathered by importing to excel the logs and trying to align them as much as possibile to verify what happened in what mode; it is not perfect).

The last thing I do not understand, is:

  • why during the RTL the altitude decreased from 50mt to 10mt and I had to switch manual again to bring it back to a correct altitude?

I am attaching my log to this just in case somebody have any idea.


Overall I had quite fan, and was pretty happy I did program the RTL mode easy to be selected from my Radio switch.

–Alberto


2013-04-26 10-50 4-log.zip

2013-04-26 10-50 4_Analysis.xlsx

ZuCopter – My Arduino UAV

I had this post there since ages, and I thought to just share it as some friends were asking me for one of my (somehow hidden… but not really) passion about this Gadget.
Since several months, I am a proud owner of an arduino based quadricopter. I started following this topic since some years, and got more and more interesting when Chris Anderson (editor in chief of Wired US), founded his social network DIYDRONES http://www.diydrones.com/

I started chasing my wife to be able to spare, month after month, some budget for this project (every family has its own board of director, where the wife controls 9 out of 10 seats J). But at the end, I was able to get it approved and funded!

Here are some picture of the work and some video result so far.
(some more will come later with the nice season)


The Arducopter Kit

Assempling the Frame

Assembling and soldering the power distribution


Soldered the main flight control board and testing all the sensors (magnetometer, barometer, Compass, 6DOF, GPS, ….) with the telemetry on the pc.
(recognize the bing maps embedded on the mission planner sw, where you can program waypoint for the gps)


Assembly and testing with the TX


And here is the result:


Finally I also added a Gimbal Camera Mount, to stabilize the camera orientation compensating on the quadricopter pan and tilt


Some Recorded Videos